Step 4: Deploy to Rivet & distribute game
Deploy to Rivet
In the root of the project, run the following command:
Command Line
This will deploy your project to your game's production namespace.
Test with remote game server locally
Now that your game is deployed to Rivet, you can test using a production namespace token.
- Create a new namespace token as described here.
- Update the token in the Entry widget blueprint where you set
MY_TOKENin the previous step. - Play the project and click your Connect button. Check that you are able to see the other player run around.
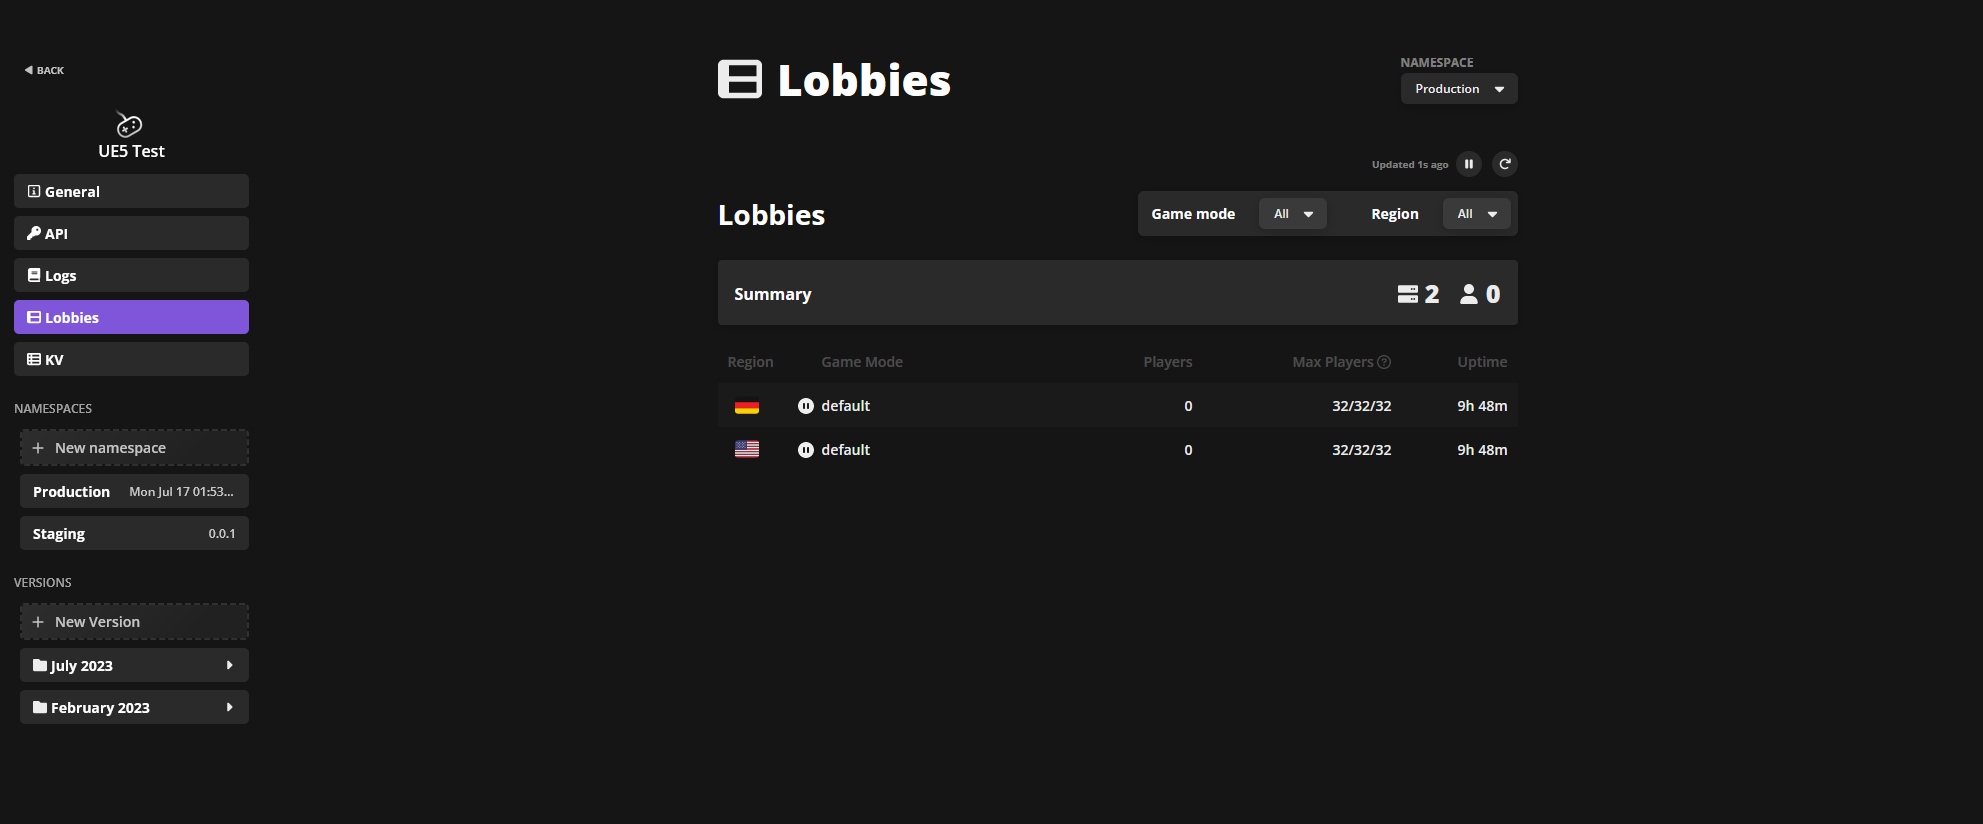
Your game is now up and running on Rivet!
You can see the lobbies in the Rivet dashboard. These will automatically scale up and down as players come and go.
Build & distribute client
You can build & distribute the game client as you like. Rivet provides a CDN to make this easy.
Make sure to change Rivet Token to public namespace token when distributing builds, like we did in a previous step.
You can also use Unreal's config files to configure the token.