TypeScript Quick Start Guide
In this guide, you'll learn how to set up a TypeScript actor project powered by the ActorCore framework, deploy it to Rivet, and connect to it from a client.
Create and explore your project
Use the command below to create a new actor project:
During setup, you'll be prompted to specify a project directory.
Once setup completes, you'll have a project with:
actor.config.ts: Actor configurationsrc/index.ts: Main actor implementationtests/client.ts: Client test script
The counter template provides a simple actor that maintains a numeric state and exposes methods to increment it.
Deploy to Rivet
Deploy your actor with:
Command Line
You'll be guided through:
- Logging in to your Rivet account (or creating one)
- Creating a new project (if needed)
- Selecting an environment
After deployment completes, you'll receive:
- Actor Core: Your endpoint for client connections
- Links to the Rivet Hub for monitoring and management
Connect to your actor
Update the tests/client.ts file with your deployment URL:
TypeScript
Run the test client:
Command Line
You should see output similar to:
Run it again to see the actor state increment as it persists between calls.
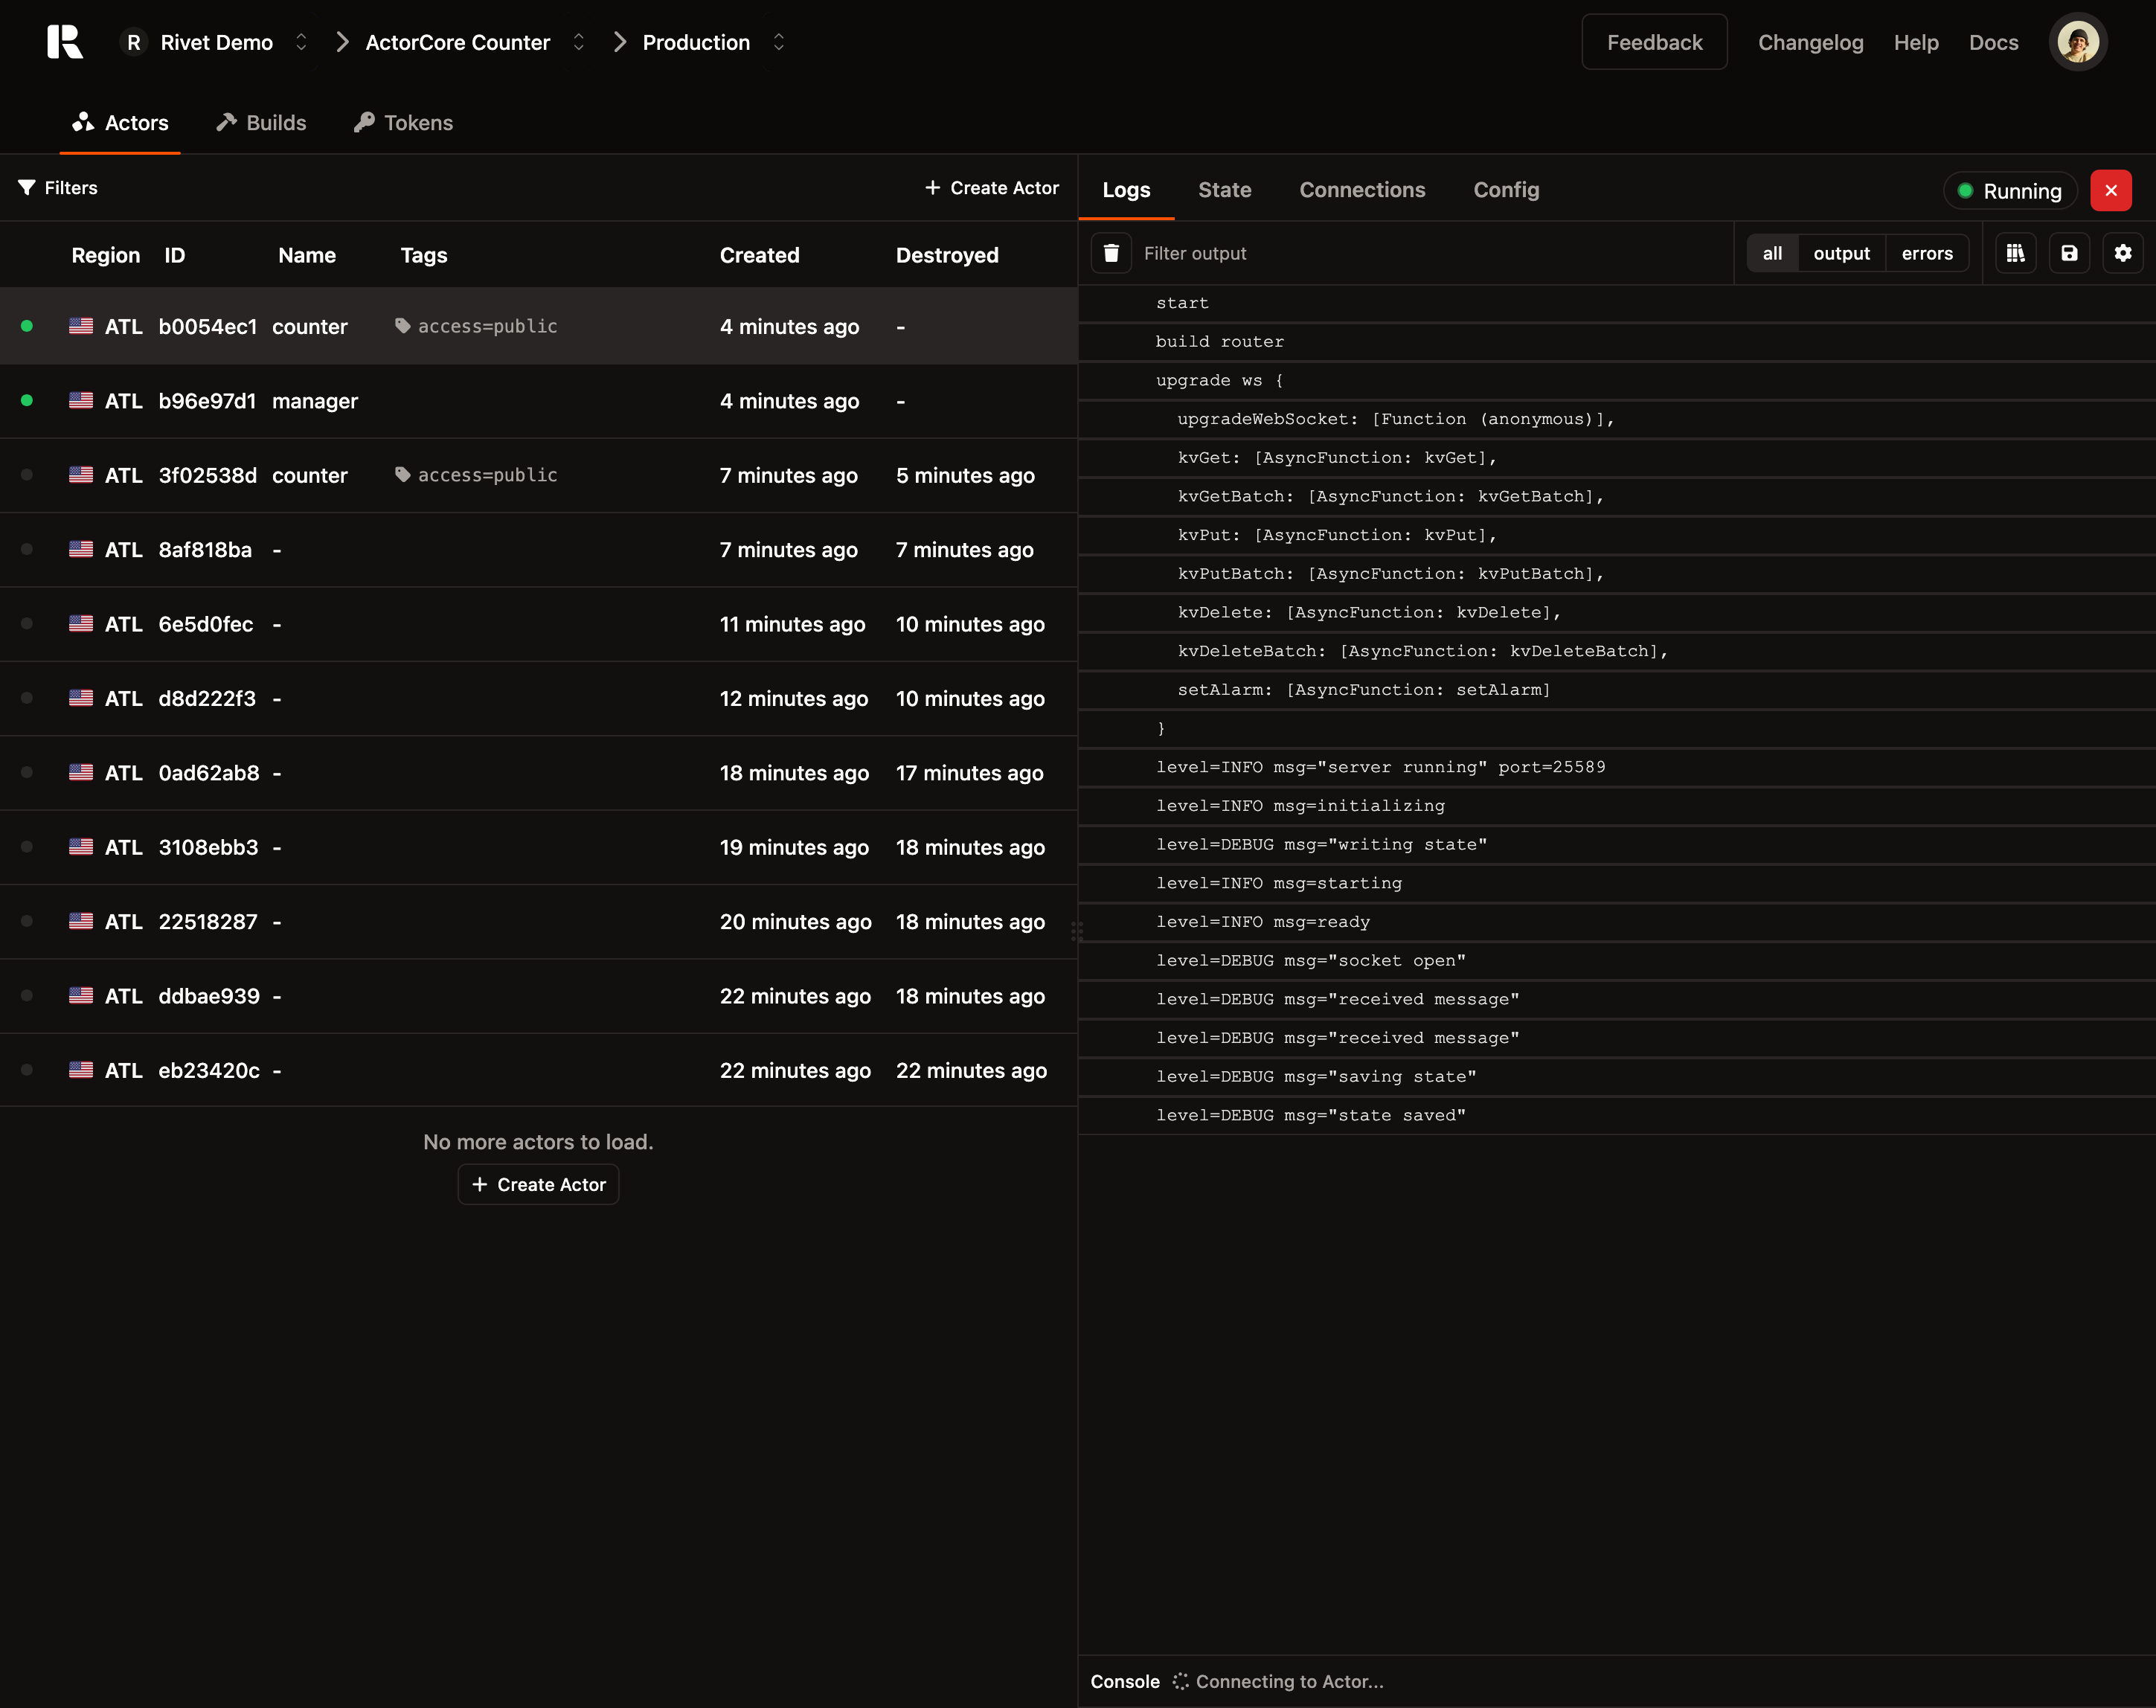
Monitor your deployment
Visit the Rivet Hub to:
- Monitor your actors in real-time
- Check logs and debug issues