Step 3: Build game menu UI
We will build a simple menu UI that will allow players to connect to a server. This will be the first thing players see when they start the game. We will also update the default map to be the menu UI instead of the game world.
Create the menu UI world
- Create a new level in File -> New Level...
- Select Empty Level
- Click File -> Save Current Level or press Ctrl + S. Save in All/Content/Third Person/Maps and name it Entry.
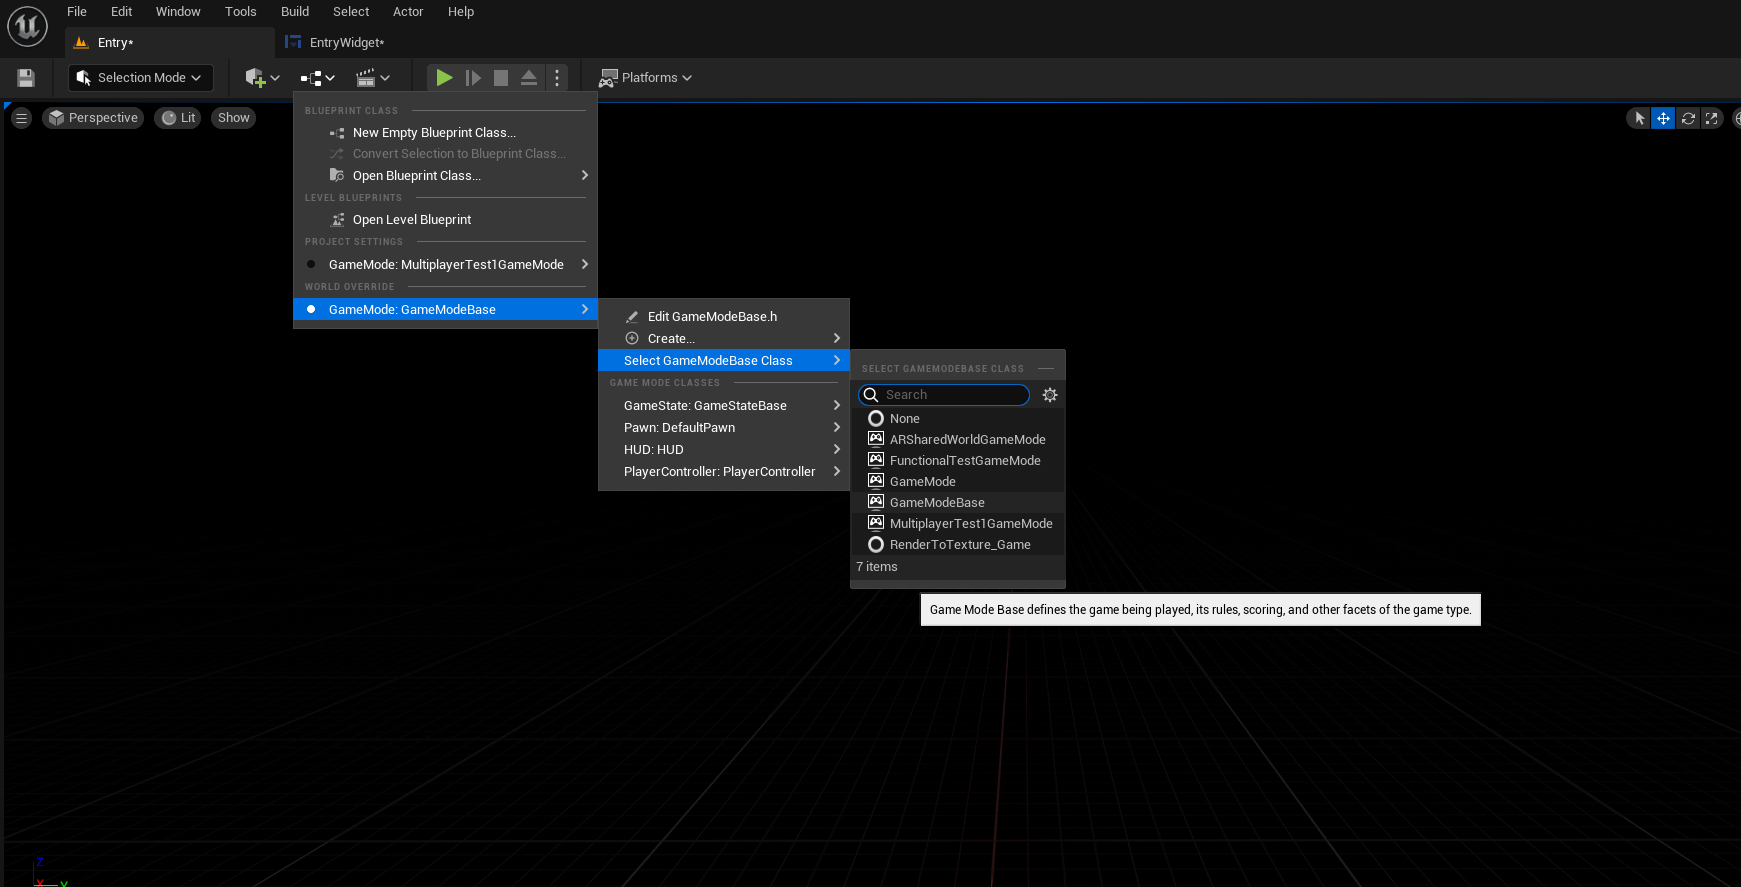
- Change the game mode by clicking the Blueprint dropdown and then clicking World Override -> Game Mode: Not overridden! -> Select GameModeBase Class -> GameModeBase - This will remove the game mode logic to create a pure menu screen
Create the menu widget
- Open the Content Drawer
- Open All/Content/ThirdPerson/UI
- You may have to create this folder
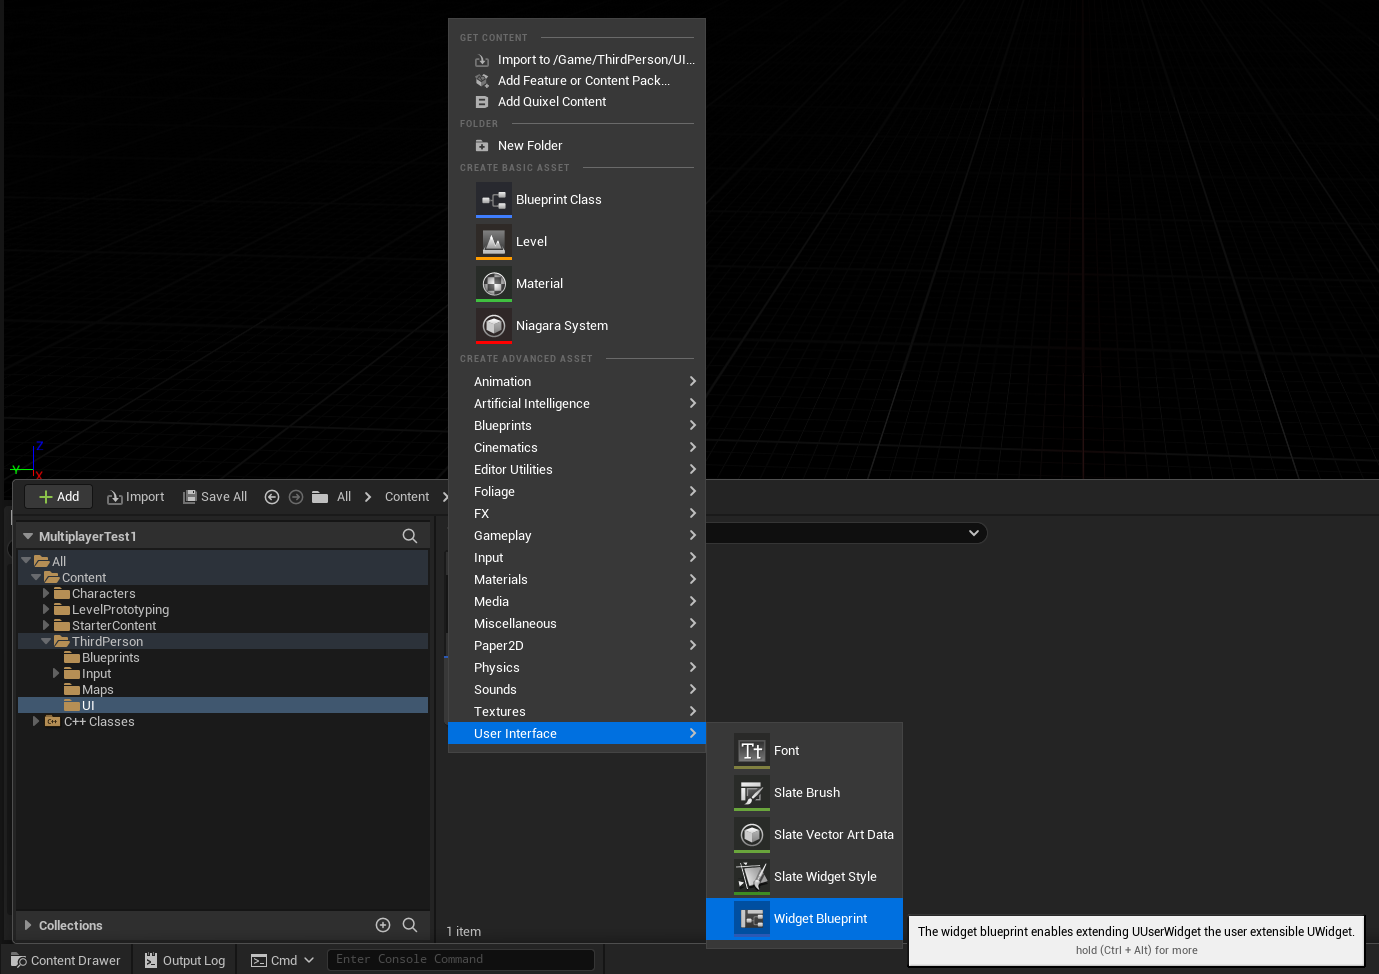
- Right-click in the content area and click User Interface -> Widget Blueprint
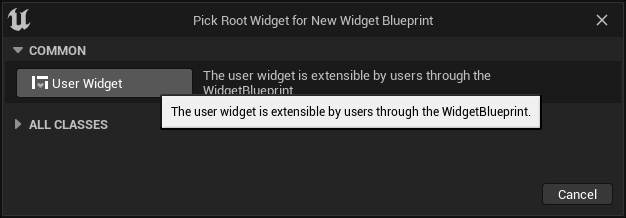
- Click User Widget
- Rename it to EntryWidget
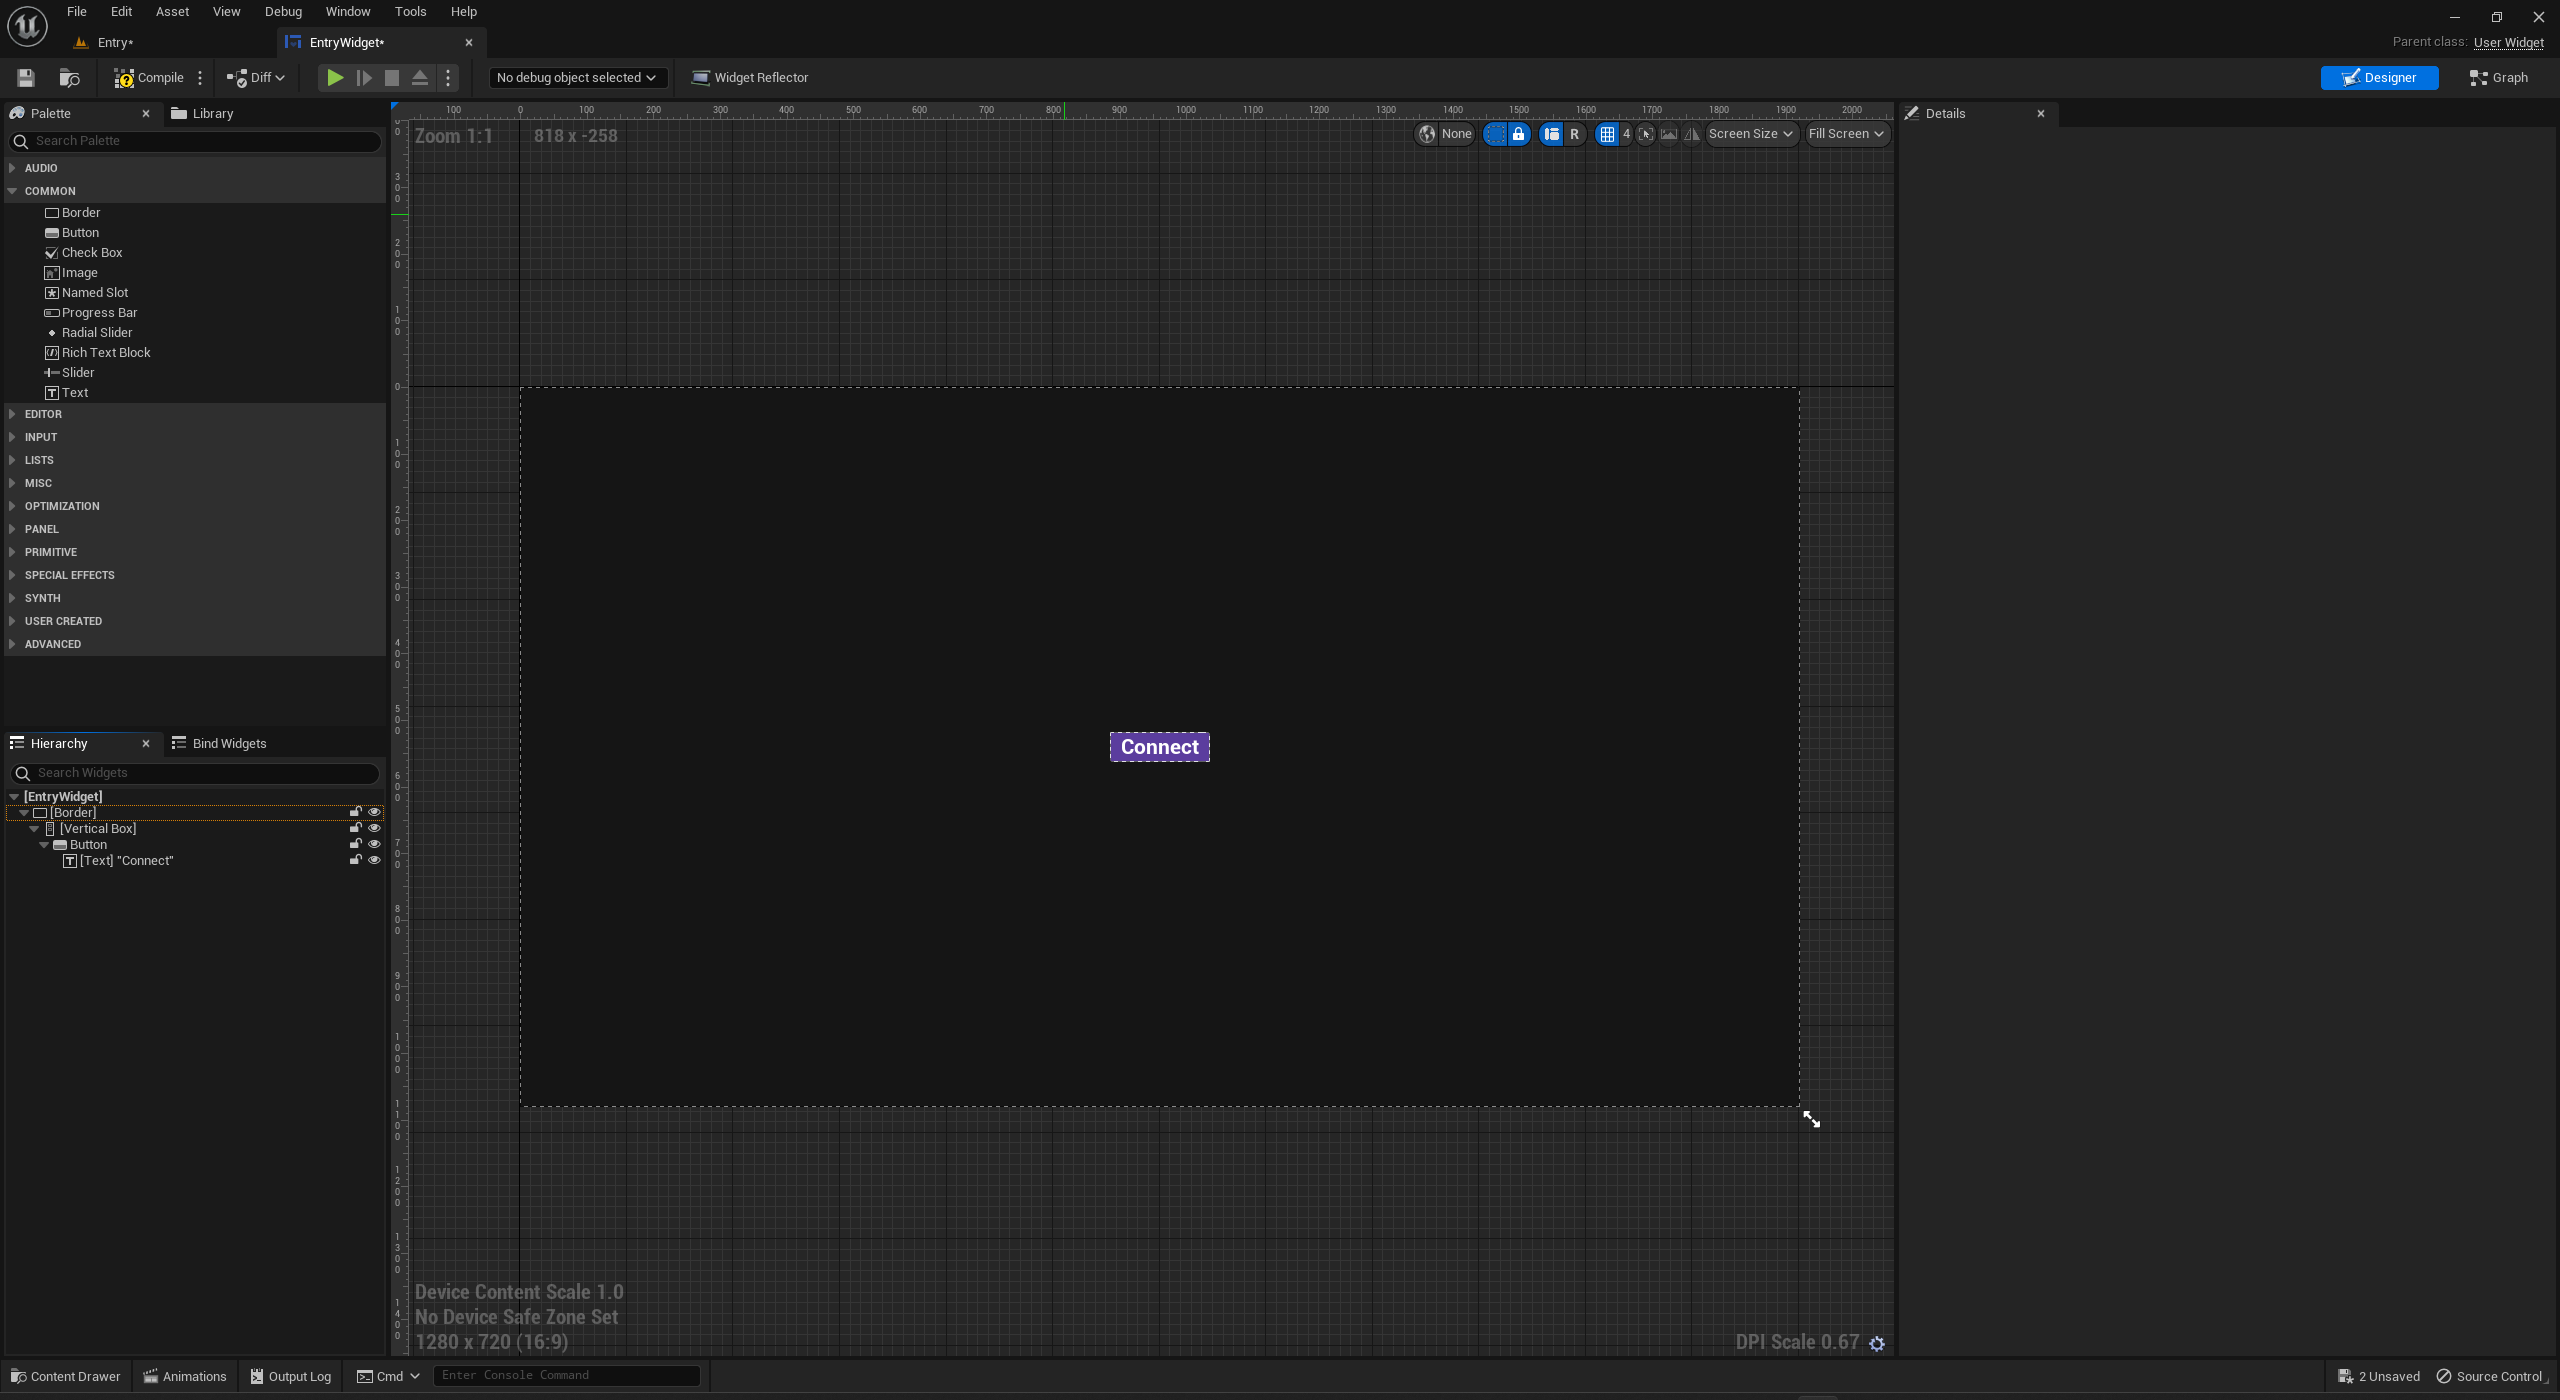
Design menu widget
- Open the EntryWidget you created
- Construct the following design:
Write widget blueprint to connect to server when button is clicked
- Create a development token by running the following command and copying the token. It should look like
dev_staging.XXXX. Save this for the next step.rivet token dev create - Open the Blueprint code for the EntryWidget you created by clicking Graph in the top right corner
- Replace
MY_TOKENwith the token you just created.
- Replace
- Construct the following Blueprint:
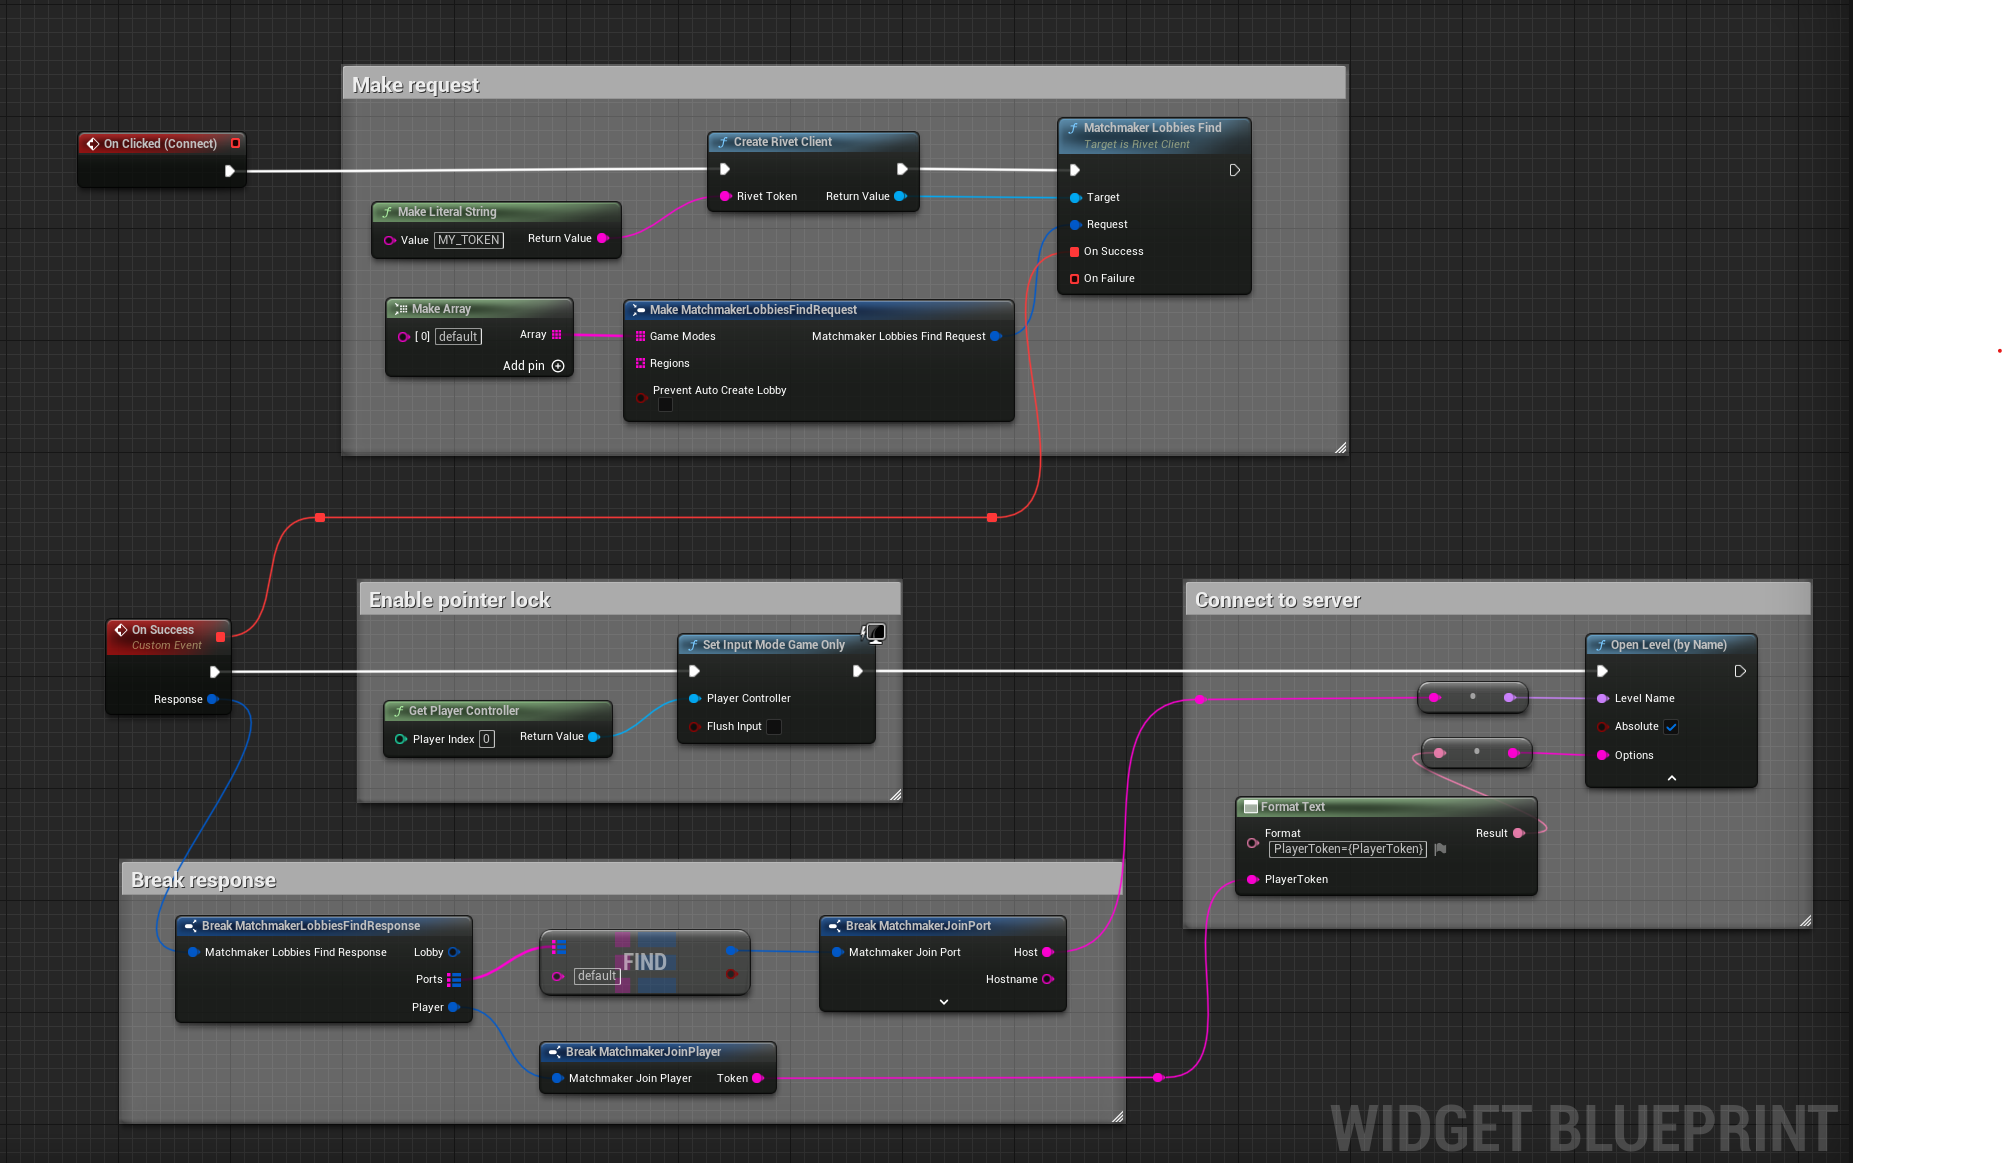
- Press Compile
This widget can now be used to connect a player to a server.
Add the menu widget to the entry level
- Open the level Blueprint by clicking the Blueprint dropdown and then clicking Open Level Blueprint
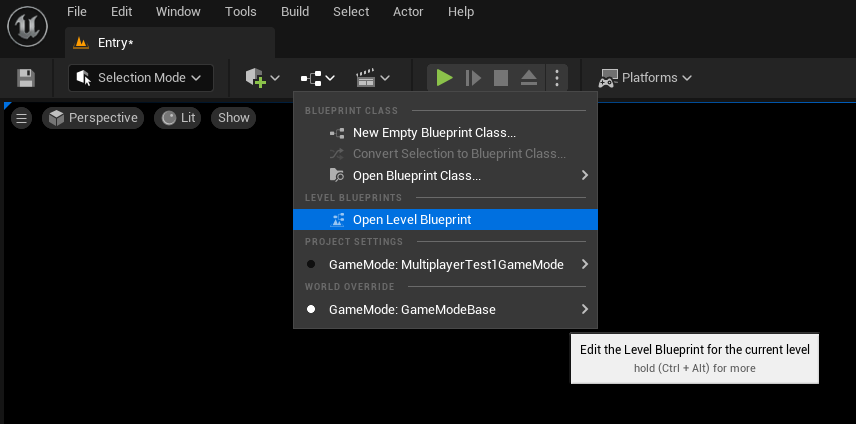
- Construct the following Blueprint:
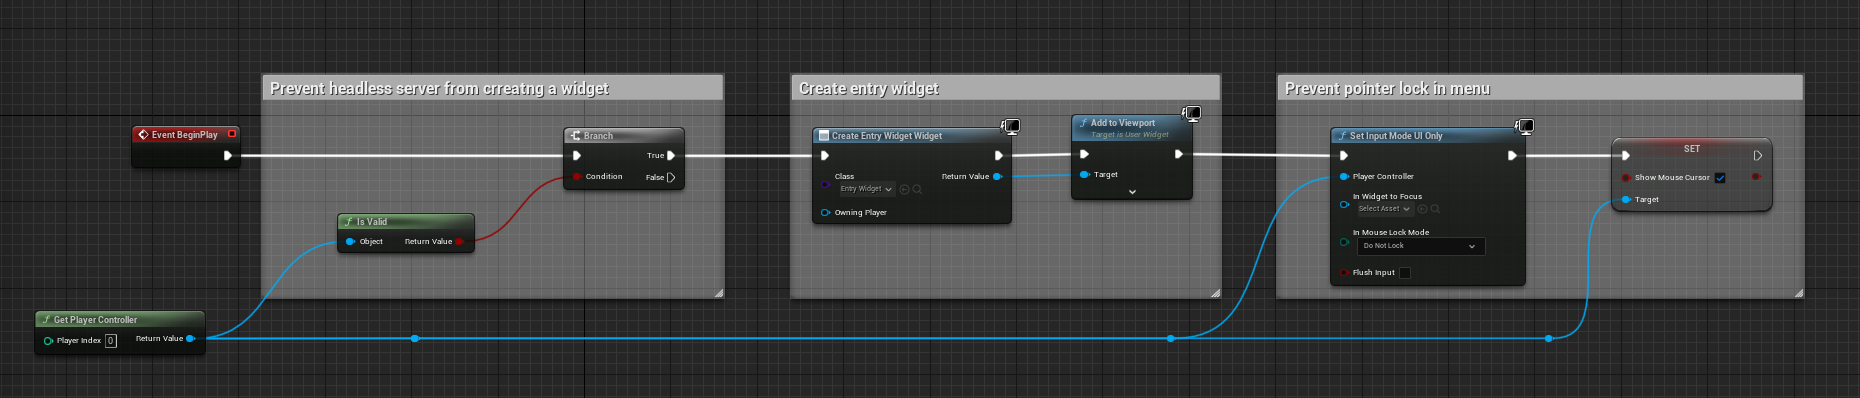
- Press Compile
Update the default map
Now that we have a new Entry map for the UI, we need to make it the default map.
- Open Edit -> Project Settings...
- Click on Maps & Modes under Projects in the sidebar
- You can also search for "map" in the search bar
- Change Game Default Map to /Game/ThirdPerson/Maps/Entry
- Change Advanced > Server Default Map to /Game/ThirdPerson/Maps/ThirdPersonMap
Set up play configuration for testing multiplayer
We will configure the play settings to test the game with Rivet locally in your editor.
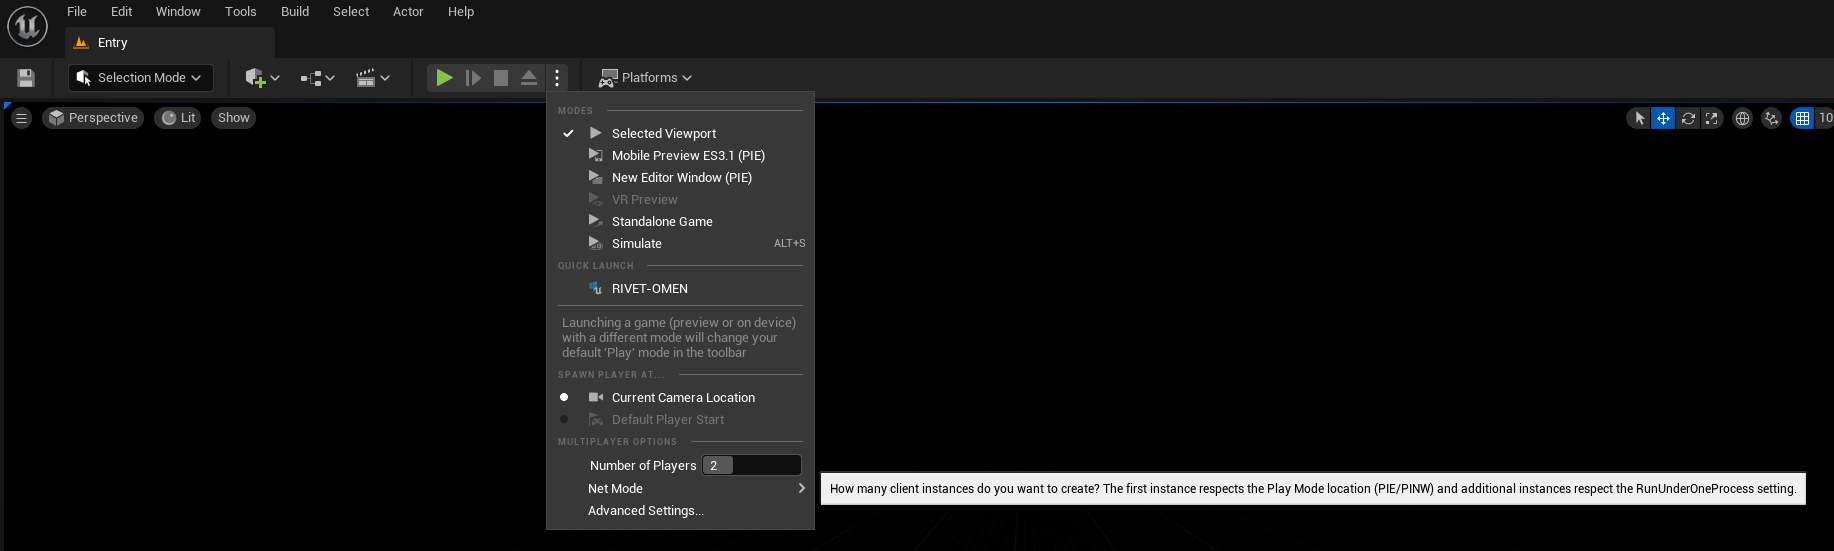
-
Press the three dots next to the play button and click Advanced Settings to open the Play In settings.
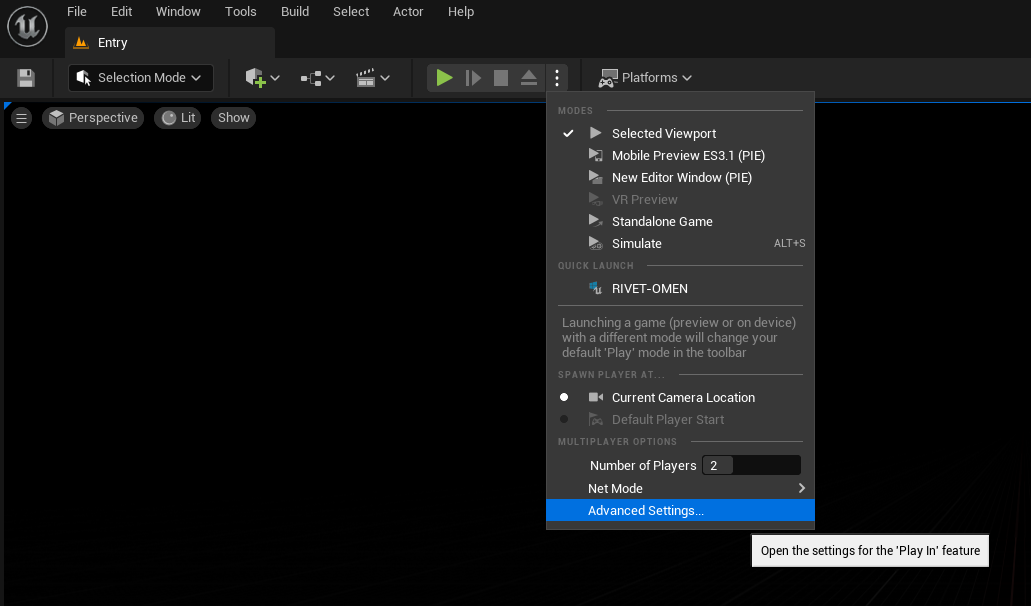
-
Scroll down to Multiplayer Options. Update the following settings:
- Launch Separate Server: False
- Play Net Mode: Play Standalone
- Run Under One Process: True
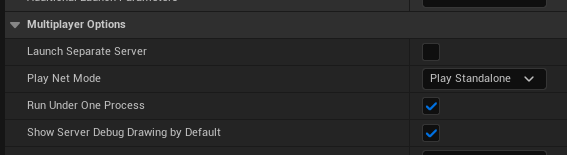
-
Update the number of players to at least 2.
Learn more about different ways to run your multiplayer game in Unreal Engine here.
Test the game server locally
Run server
This will build & run your game server locally and run on port 7777. You must re-run this command whenever you change your server code.
rivet unreal start-server
Run client
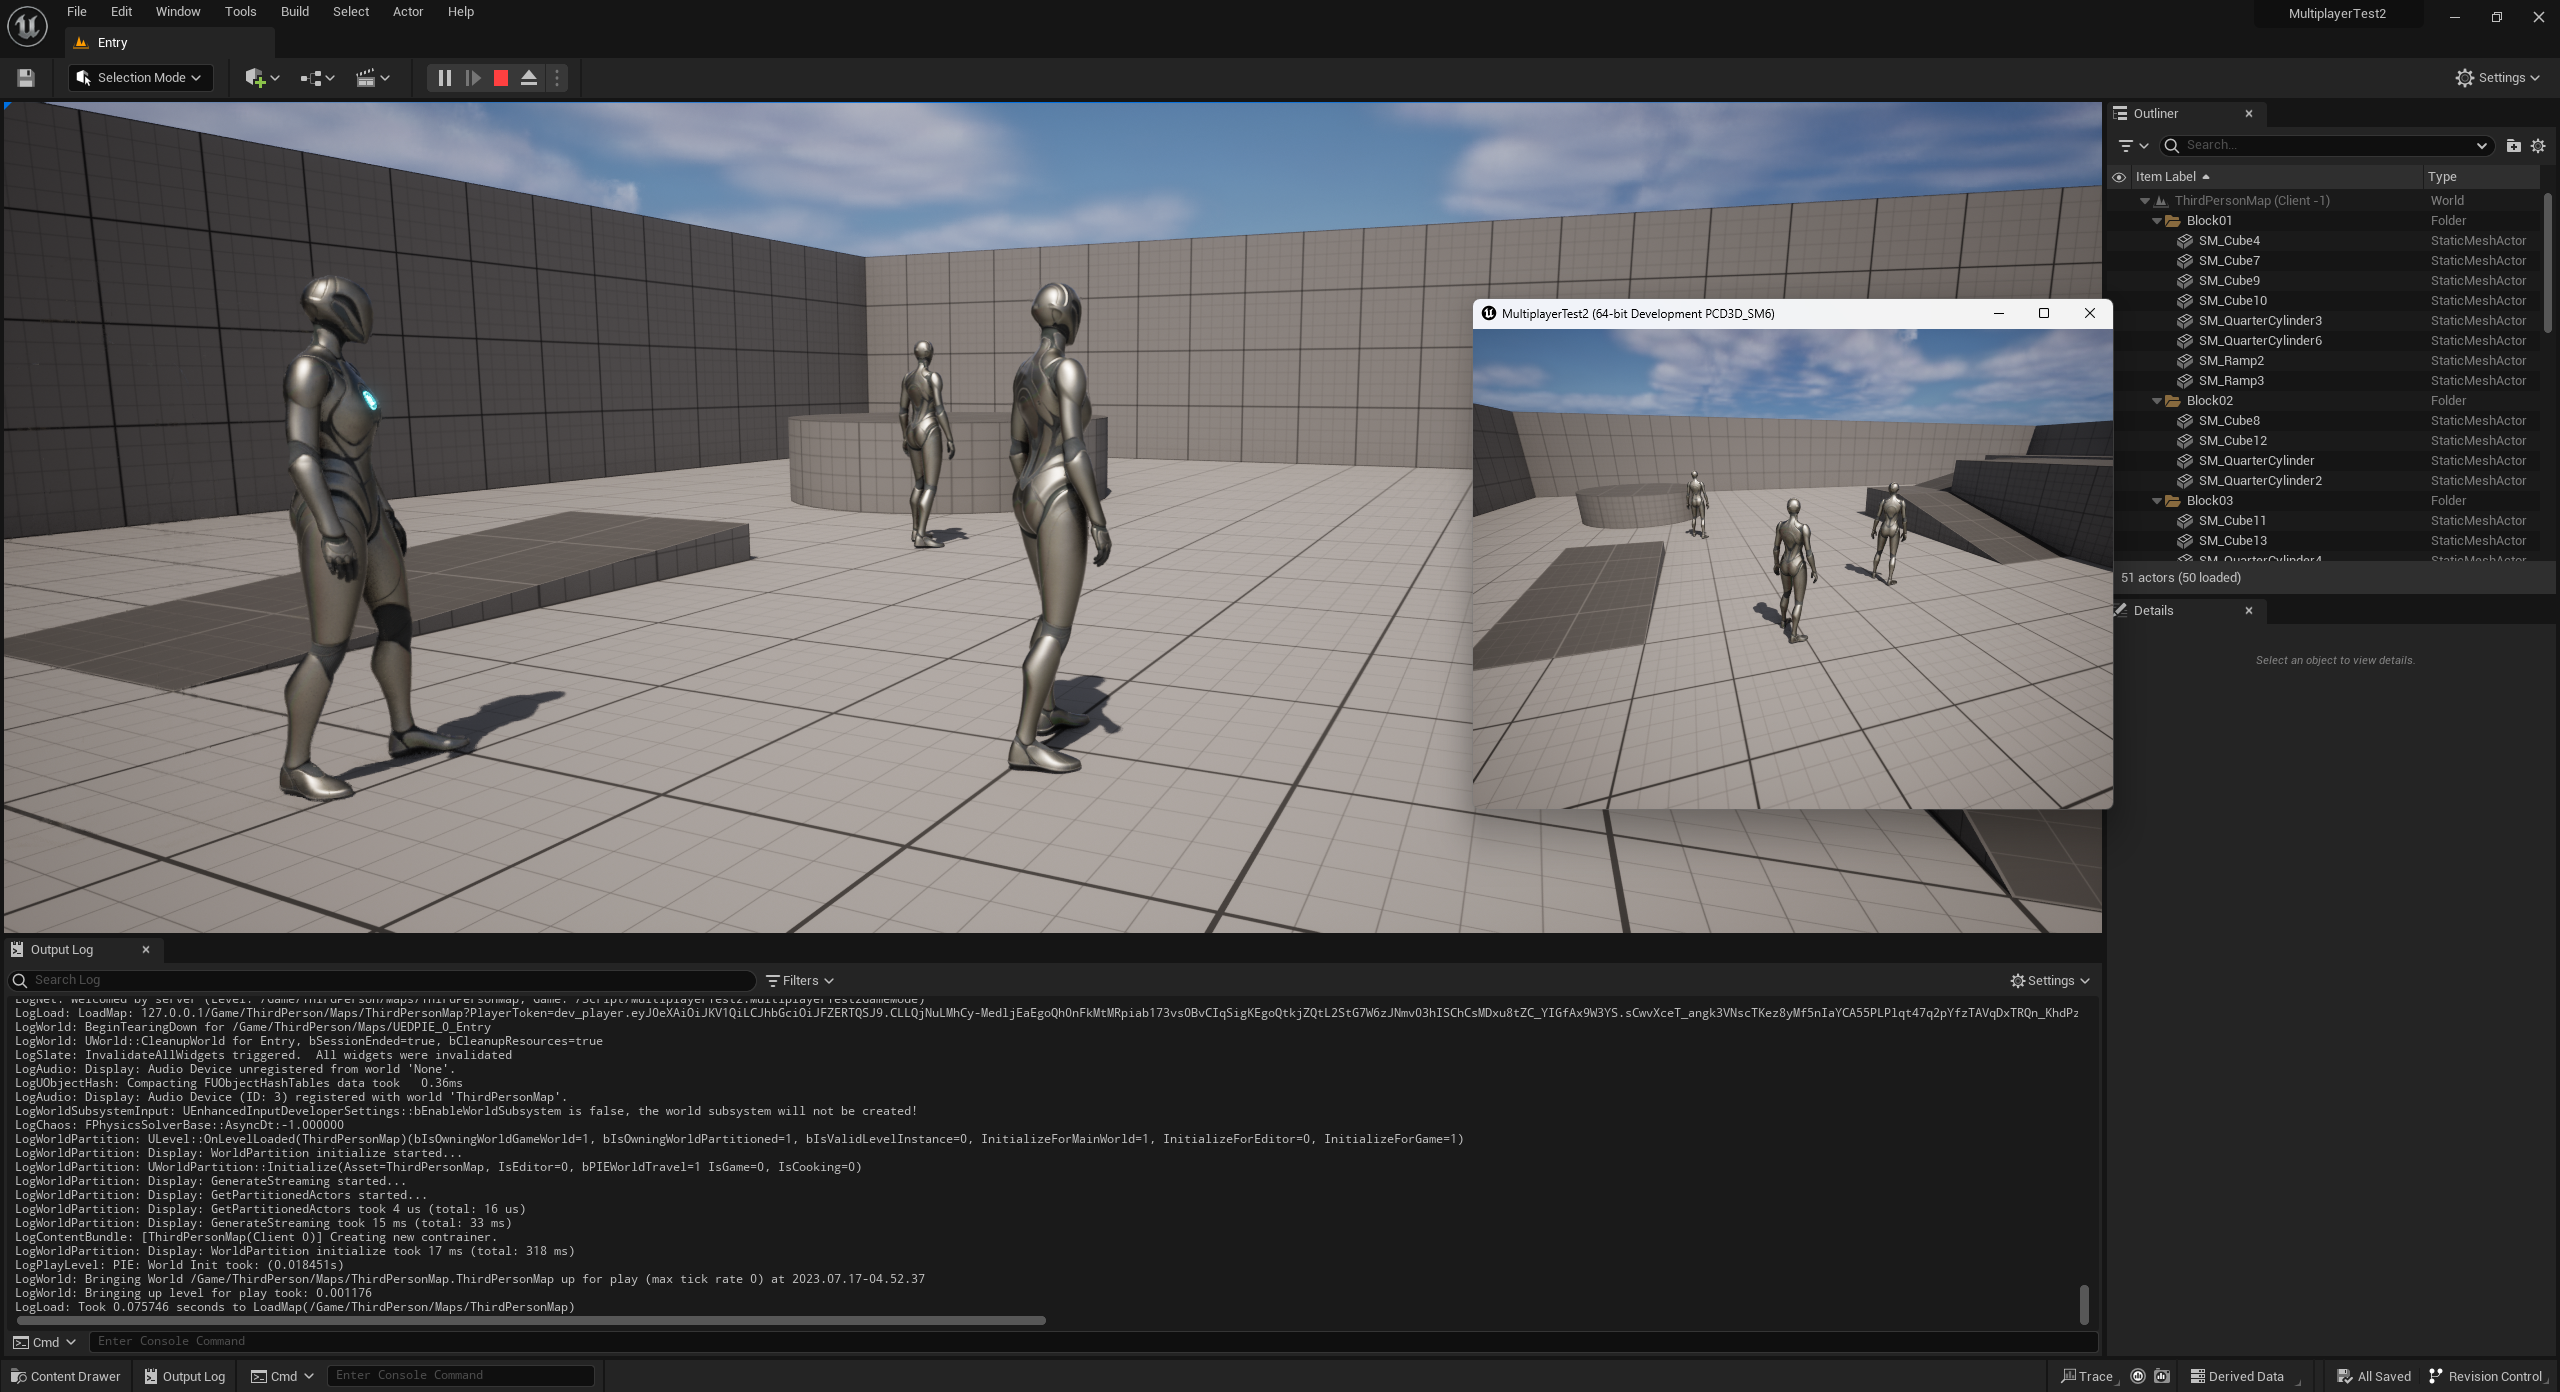
- Switch to the main editor
- Validate that the Entry level is open
- Click Play
- Click Connect in each of the game instances created
- You should be able to see each player running around in sync
This is using the Rivet development token to mock production APIs. This lets you test with production APIs while still using your local machine.